Before you begin
Before installing DIVA Client you’ll need to know the IP address or hostname of your DIVA Server.
Install DIVA Client
- Open a browser and navigate to the IP address or hostname of your DIVA Server.
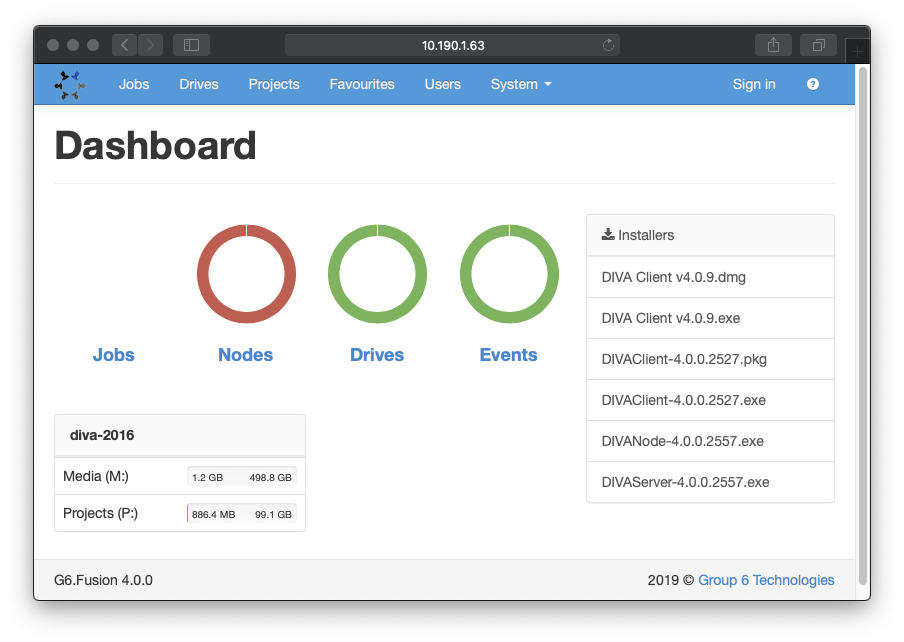
The DIVA Dashboard where you can download the Client installer. - In the Installers panel, click the DIVA Client .dmg installer to download it.
- Open the installer, and drag DIVAClient to Applications as instructed.
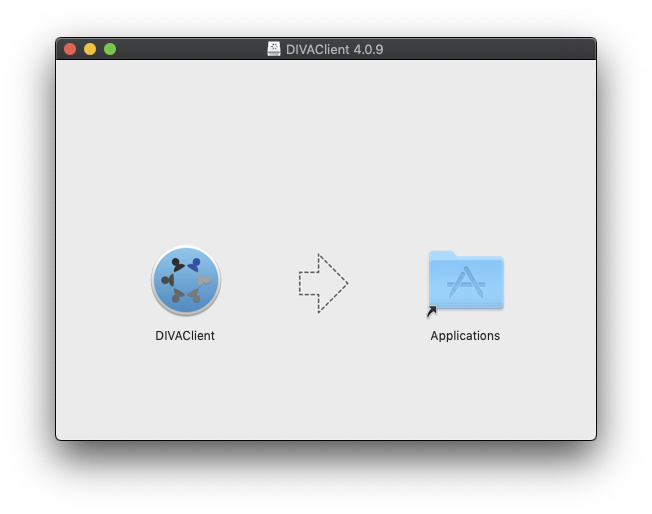
Drag DIVAClient into Applications. - Browse to Applications, locate and double click DIVAClient to open it.
- You may be warned that DIVAClient is an app downloaded from the internet. Click Open to open it.
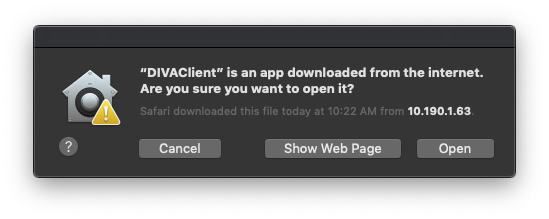
Click the Open button to allow DIVA Client to run.
- Open a browser and navigate to the IP address or hostname of your DIVA Server.
The DIVA Dashboard where you can download the Client installer to download it. - In the Installers panel, click the DIVA Client.exe installer.
- Once downloaded, run the installer. When the installation has completed DIVA Client will automatically open.
Result: You can now continue to setup DIVA Client.
By default DIVA Client is installed once per-user to their AppData directory.
You can perform a machine wide installation by running the downloaded installer from the command line with the /D switch, for example:
"DIVA Client.exe" /D="C:\Program Files\DIVA Client"